
1. Start with a customer, not a catalogue page
For a brand owner, choosing an oven is a product decision as well as a purchasing decision. A model can look attractive in a catalogue and still disappoint the people who buy it. Begin with three questions: who will use it, what will they cook most often, and where will it sit? A small apartment user reheating a meal has different priorities from a family baking on weekends. Write down the main use before comparing finishes, preset counts or promotional photographs.
Define the intended use accurately. Selling an appliance to a business does not automatically make it a commercial-duty oven. IEC's published scope distinguishes household portable cooking appliances from equipment intended for professional food production. Confirm the relevant product category and market requirements with the supplier and a competent laboratory before freezing the design. [1]
2. Build a short list of real cooking tasks
Choose a small, representative menu: for example, a household baking tray, a pizza in the target customer's usual size, toast and a frozen snack. These are planning examples, not a universal test standard. Include the cookware the customer is likely to own. A product that handles an unusual demonstration tray may not accommodate the dish people already use at home.
Describe success in ordinary language: the tray slides out easily, the food reaches the agreed finish, and the instructions make sense. Convert these statements into measurable acceptance criteria during sampling. This is more useful than asking for an oven that is simply "powerful" or "premium".
3. Compare usable space before nominal litres
A litre rating tells you something about cavity volume. It does not tell you whether a particular tray fits, how much room remains above the food, or whether two loaded shelves can be used effectively together. Request internal width, depth and usable height, then check the supplied tray's cooking surface rather than its outside rim alone.
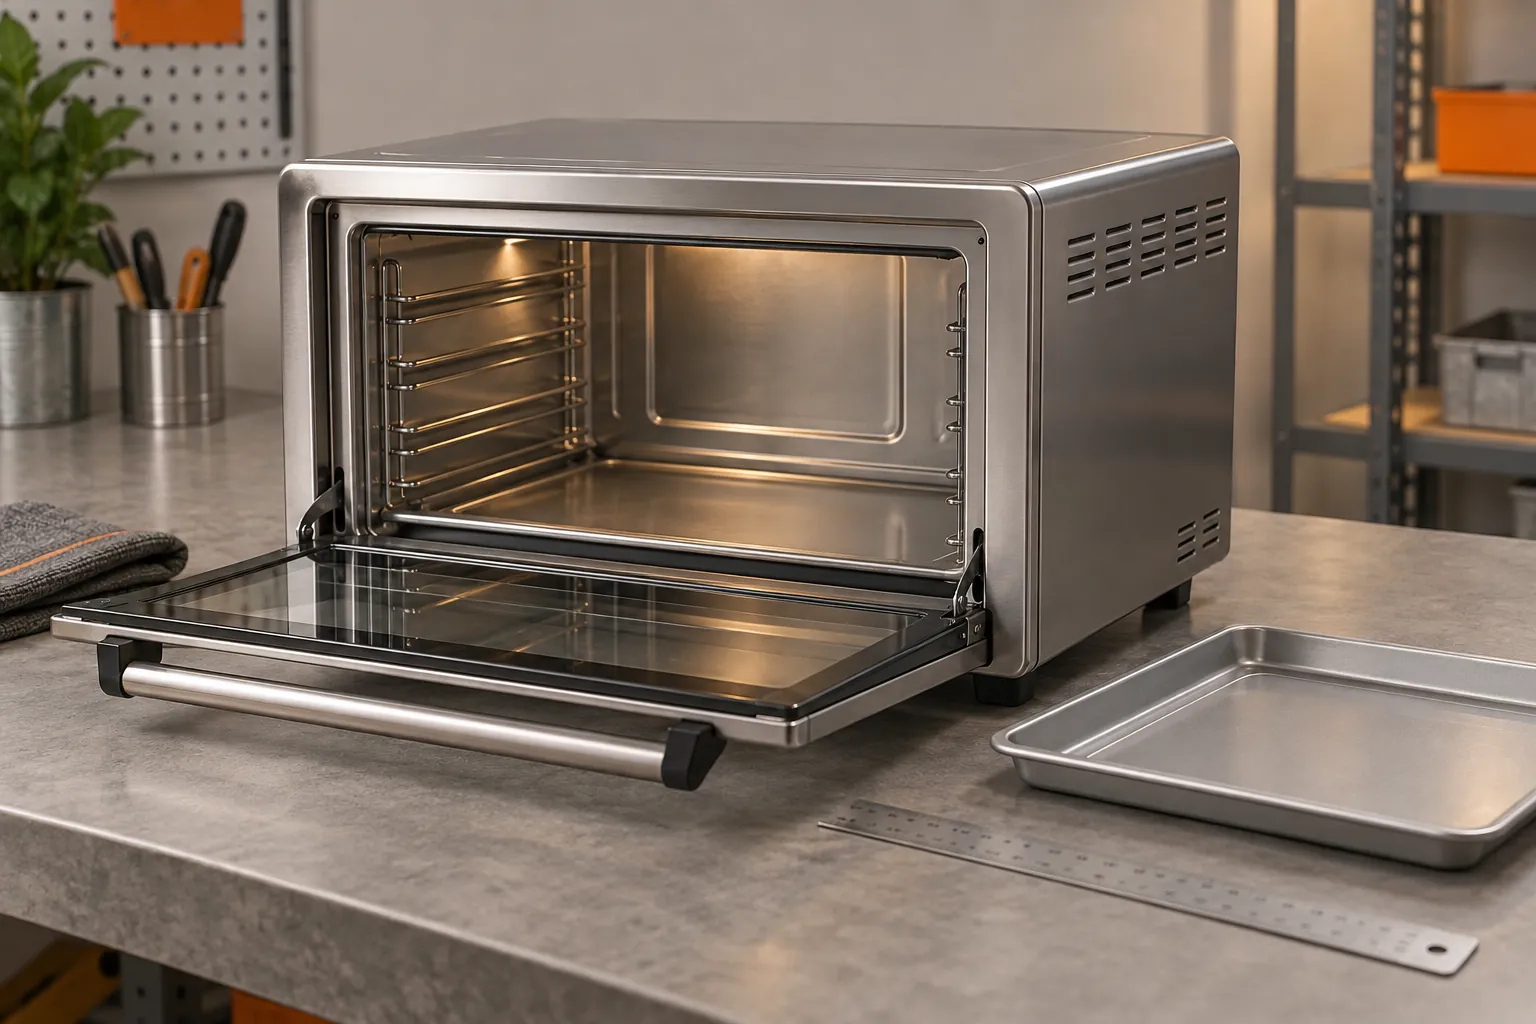
Ask for photographs with the actual cookware inside and the door fully closed. Check rack positions, door movement, handles and access for an oven glove. Do not fill the cavity right up to heating elements or block openings to achieve a claimed capacity. The approved loading instructions and clearances should govern the test. For a useful shortlist, record both the nominal volume and the usable cooking arrangement.
5. Treat wattage and temperature range as inputs
Rated input power is not the same as the energy consumed during a cooking cycle. Thermostats cycle heating elements, and cooking time also matters. Compare measured energy for the same load and accepted finish rather than ranking ovens by the largest or smallest wattage on the label. Include preheating if customers will normally preheat.
Likewise, a maximum setting does not show how steadily the oven holds a lower temperature. Request performance at the temperatures your menu needs, with a defined load and rack position. If dehydration is advertised, check the actual low-temperature operation and instructions separately. Do not assume that adding a low number to the display makes the appliance suitable for every drying task.
6. Make the controls understandable
Mechanical knobs can be straightforward, but scale markings and repeatable settings matter. A digital interface can offer more control, but a crowded display can make a simple task slower. Neither interface is automatically better. Ask an unfamiliar user to select a mode, set time and temperature, change a setting and cancel the programme using the draft manual.
Look for clear feedback when cooking starts, ends or is paused. Check display readability, language requirements, default settings and what happens after a power interruption. Record any differences between the sample's operation and the proposed manual. Small inconsistencies here can become avoidable support questions after launch.
7. Review cleaning and accessories as part of the product
A removable crumb tray is only useful if customers can reach and remove it without spilling debris. Examine corners, door glass, tray coatings and the access needed for cleaning. Ask the supplier for the approved cleaning method and restrictions; do not describe an accessory as dishwasher-safe without supporting instructions and evidence for that specific accessory.
List everything included in the carton: racks, trays, baskets, handles and other tools. Check edges, fit and ease of handling on an unpowered sample. Decide which parts need to be available separately. A low opening price can lose its advantage if a commonly damaged tray has no replacement route.
8. Check the whole kitchen footprint
The appliance's body dimensions are only the starting point. Include the space needed to open the door, remove a hot tray, route the cord and meet the manufacturer's installation instructions. A compact-looking product can be awkward on a shallow worktop. Verify the intended voltage, frequency and plug configuration with a qualified person for the destination market.
Do not treat a plug adapter as a solution to a mismatched electrical rating. For catalogue comparisons, use a simple drawing showing the appliance, door-open position and required clearances. Keep the packaging dimensions in a separate field so nobody confuses shipping size with the space needed in the kitchen.
9. Separate essentials from expensive extras
Divide the brief into "must have", "preferred" and "optional" requirements. Essential items should connect directly to the customer use, market requirements or a clear product promise. Decorative lighting, extra presets and additional accessories belong in the quotation as options until their value has been demonstrated.
For example, a first launch might require reliable single-tray baking, straightforward controls and replaceable trays. A connected app could remain optional. This is an illustrative product strategy, not a recommendation that all brands should simplify their range. The aim is to understand what each extra feature costs in parts, testing, instructions and support.
10. Ask for evidence that matches the exact version
Match drawings, manuals, sample identification and test documents to the proposed model, electrical version and supplied accessories. A report for a related family member needs a clear explanation of how it covers the offered configuration. Do not assume that a logo on a presentation proves compliance or cooking performance.
ENERGY STAR's commercial-oven programme has its own eligibility and test framework. Its commercial equipment claims should not be copied onto a household countertop oven without model-specific eligibility and evidence. [2] More generally, keep marketing claims within what the approved documents and sample results support.
11. Use a one-page comparison brief
Send the same document to every shortlisted supplier. Include the target customer, intended use, market, cookware, usable space, electrical configuration, essential functions, accessories, packaging and after-sales needs. Ask each supplier to mark every line as confirmed, optional or requiring development.
Keep a separate list of unresolved questions, each with an owner and due date. This prevents a vague "yes" in an email from becoming an assumed specification. Compare prices only after the major differences are visible. The best-fitting oven is the one whose performance, cost and support plan match your product promise, with enough evidence to make the next decision confidently.
Sources and scope
These references support general context. Product requirements, compliance and performance must be confirmed for the exact model and destination market.