
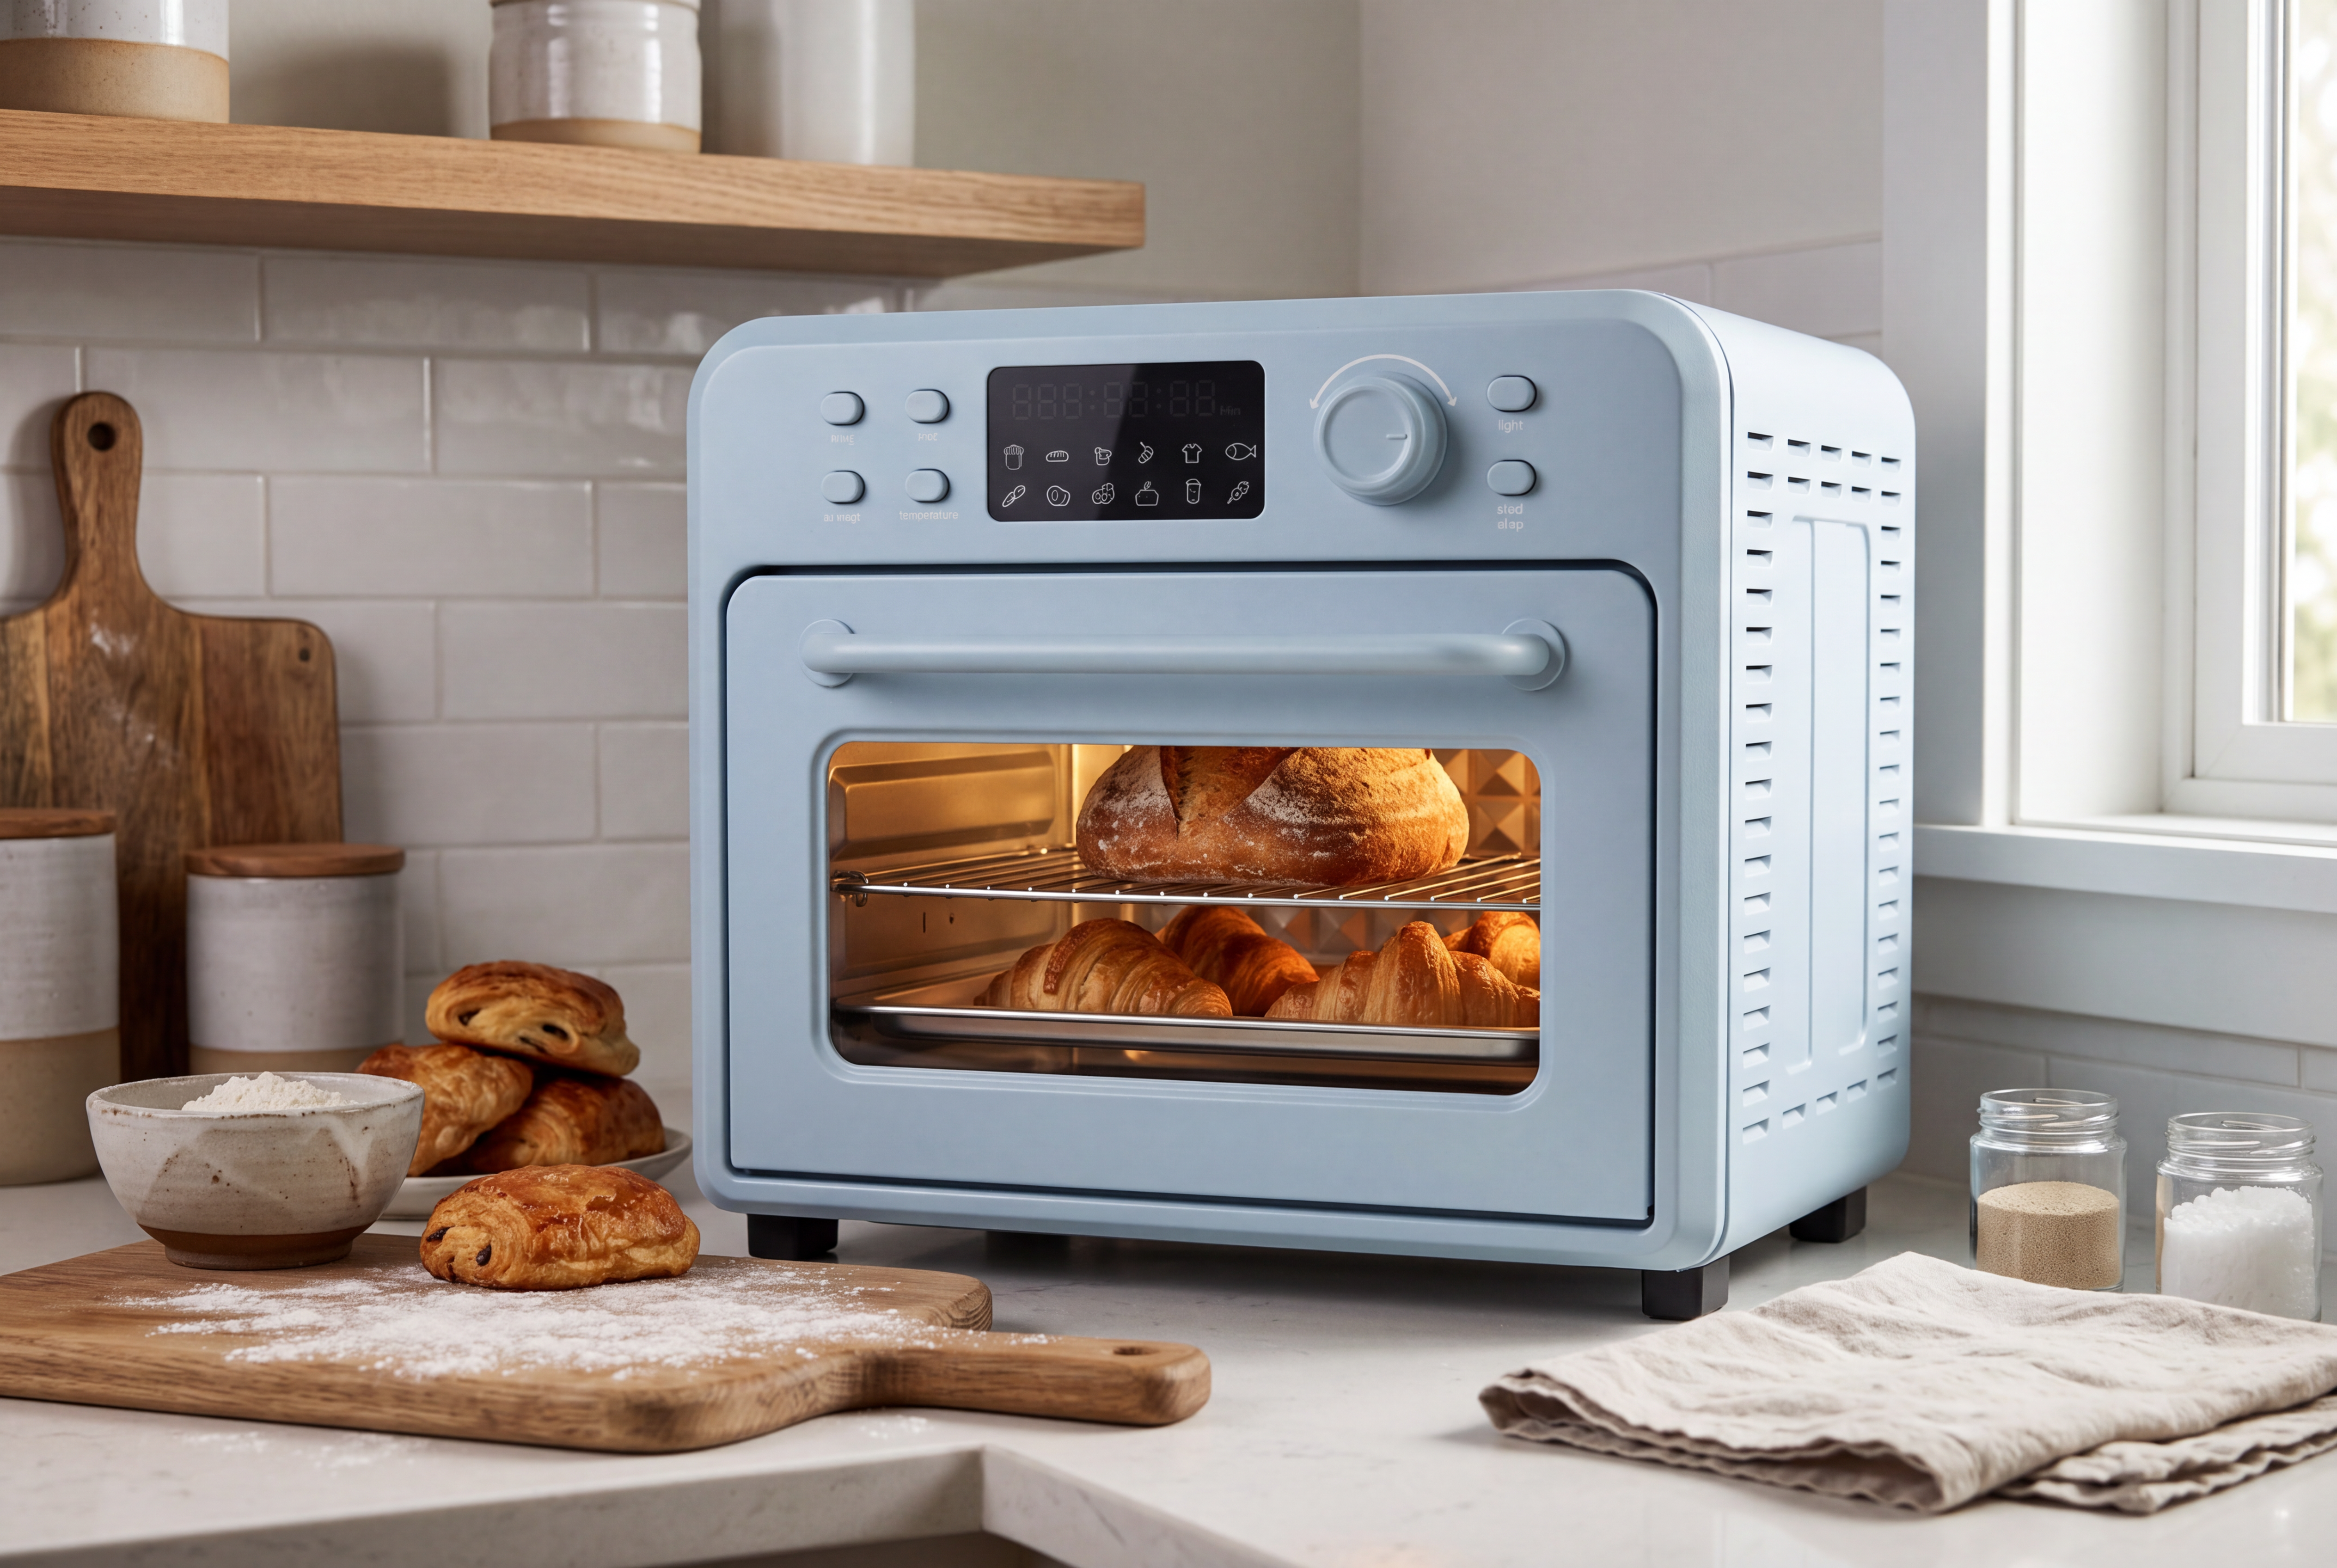
Treat the oven as a small convection chamber
An air fryer oven can bake well, but its smaller cavity and stronger local airflow make it less forgiving than a full-size oven. The right starting point is not a universal promise of faster baking. It is a controlled test with a defined pan, load and rack position.
Adjust from a test, not a slogan
King Arthur Baking suggests using a starting adjustment of about 25°F lower temperature and roughly 20% less time when adapting a conventional recipe to an air fryer. That is a starting point, not a guarantee. Check the first batch early and record the actual result. Door design, fan behaviour, pan material and load all change the outcome.
Bread needs room and protection
Small loaves and rolls are easier to control than a tall loaf. Leave clearance around the pan so hot air can circulate. If the top colours before the centre is set, use a light foil shield after the surface has taken on enough colour. Test the recipe with the intended flour, yeast, hydration and pan; changing any of those can change proofing and bake time.
Pastries need careful loading
Puff pastry and croissants benefit from a clear gap between pieces. Overloading blocks airflow and creates uneven browning. Start with the recipe’s conventional temperature, apply a modest test adjustment, and inspect the first batch rather than copying a fixed chart. For fillings containing meat or egg, follow the food-safety guidance for the recipe and market; an appliance setting is not a food-safety certificate.
Cakes and cookies are small-batch products
Use a light-coloured pan when possible, fill it no more than two-thirds full and check earlier than the conventional recipe suggests. Rotate only when the oven design and recipe allow it; opening the door changes the thermal cycle. Record pan size, batter mass, rack position, time, temperature and endpoint colour so the result can be repeated.
What brands should validate
For an OEM baking programme, validate preheat behaviour, temperature recovery after door opening, airflow with the supplied accessory, browning spread, recipe mass and the user instructions. Claims such as “faster” or “more even” should be tied to a defined recipe and test method. The product page should explain that settings are starting points and that food, pan and loading change results.
Sources and notes
- King Arthur Baking, How to Bake with an Air Fryer: https://www.kingarthurbaking.com/blog/2022/01/14/everything-you-ever-wanted-to-know-about-baking-in-an-air-fryer
- USDA FSIS, Safe Minimum Internal Temperatures: https://www.fsis.usda.gov/food-safety/safe-food-handling-and-preparation/food-safety-basics/safe-minimum-internal-temperatures
Temperature and time adjustments are starting points. Validate the finished appliance, accessory set and recipe before publishing a performance claim.